Summer brings a break in our normal schedule, so I invited two of my daughter's friends to a Summer Sewing School. I have two old sewing machines, so that was my limiting constraint. The girls brought the brightest spirits and a hunger to learn. They spoiled me as a teacher with their great attitude. Let me give you some details:
Fabrics
Felt from Heather Bailey's
store.
Quilting cotton from The Sweetest Thing by Zoe Pearn and Riley Blake Designs.
(I purchased 1 yard cuts of almost the whole collection to give the girls a choice of fabrics.)
Sewing totes were discontinued, but can be found
here.
Trim and buttons from Joann's. ( I purchased these in bulk to allow ample choices.)
Projects
Needle case pattern from My First Sewing Book edited by, Susan Akass
Drawstring pouch - Self drafted pattern
Pincushion pattern from My First Sewing Book edited by, Susan Akass
PJ Shorts - Self drafted pattern
PJ t-shirt embellishment - Each girl designed an original
Decoration of sewing totes based on pictures from Made by Me by, Jane Bull
Logistics
We met six times for a few hours to work on our projects. Some of the handwork was assigned as homework. I had three sewing machines set up and plenty of workspace on my cutting table. The iron was supervised at all times. Six lessons was enough to introduce a few topics, but not gain expertise in anything. Nine year olds still need lots of supervision. I combined hand and machine sewing. One must learn both to be a great seamstress. After my projects were selected in the spring, a few really cute kids sewing books were published.......future schools.........I can see it...........
What I learned
When a little girl is interested in crafts and sewing, they have a huge appetite for it. The hardest part of planning a class is allotting the proper amount of time for each step and the pace of the worker. Running a good school isn't always about sewing knowledge, but how organized and prepared you are for the class period.
Enjoy my picture story of our class.
 |
| Careful cutting! |
 |
| Learning to use pins. |
 |
| All attention on cutting. |
 |
| Machine Sewing. |
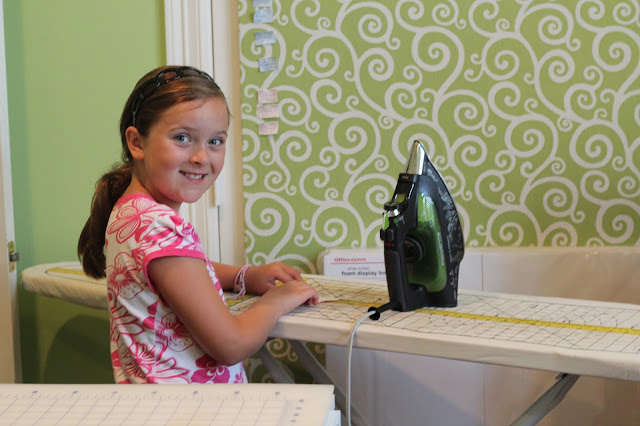 |
| Ironing with caution. |
 |
| Crazy moments with the girls. |
 |
| Showing the girls how to line up seams and pin. |
 |
| Everyone on the sewing machines. |
 |
| Pincushion #1. |
 |
| Pincushion #2. |
 |
| Pincushion #3. |
 |
| Hand embroidery |
 |
| Marked our design with disappearing markers. |
 |
| Adding buttons to our designs. |
 |
| The girls made their PJ shorts and then hand embroidered a design on the purchased t-shirt. |
 |
| Drawstring bags with embellishments. |
 |
| All three pincushions. |
 |
| Happy girls with their pincushion. |
 |
| Felt needle case with cherries on front. |
 |
| They were proud of their needle cases. |
 |
| Sewn keychains. |
 |
| Felt owl scissor holders. |
 |
| Hand-stitching these was tough. So happy to finish! |
 |
| Fabric bookmarks. |
 |
| Lots of glue, trim, and buttons! |
 |
| Cute original design for the inside of this box. |
 |
| Love the sweet colors on this box. |
 |
| Sewing cases ready for each girl. |
 |
| All my projects by this sweetheart. |
 |
| All my projects by another sweetheart. |
 |
| All my projects from my daughter. |
Let's see what the future holds for more sewing schools.


