


I got inspired for these dresses from seeing a dress with ruffle knit as the skirt. I took many design liberties and ended up with these wild dresses. I was going to cut them to about a tea length, but my daughter protested and so they are long dresses. Could we call it a little girls' maxi dress?
I used Children's Corner's pattern, Louise, for the dresses. I had to alter the construction to add a lining for the skirt. Most ruffle knits I have seen, can be seen through, so lining for modesty is needed. The striped skirt has batiste as the lining and broadcloth for the bodice. For the pink bow dress, I used a seersucker for the bodice and lining.


If you are familiar with the construction of Louise, the following tutorial will help you add a lining to the dress.
1. Sew the shoulder seams on the bodice and the bodice lining.

2. I added piping to the pink bow dress, but I didn't to the striped dress. This is when you add the piping to the armholes and neckline.

3. Sew the neck and back center seam.


Now your bodice is complete!
5. Cut the front and back skirts as you would like for length. I did not add as much fullness as the pattern shows due to the fickle nature of the skirt fabric. Also cut your lining to match. Cut your slit for the placket and sew in the placket to both the skirt and lining at the SAME TIME.


7. This is the tricky part. Make sure you fold the right side of the placket down.

8. This is the second tricky part. You are going to gather the skirt section and then the lining section. Open the bodice back side so the outside and lining are in a straight line. Attach the lining to the lining section of the back and the outside fabric to the outside back with right sides together. This is done on both back sides. Due to the light color of the fabric, it was hard to get a good picture.


Above, is a picture of one side completed.

Second side is complete.
9. Run gathering threads in the skirt front and lining. Attach to skirt front and skirt lining.

10. I trimmed the seams and then finished them. This is a wise step to reduce bulk in the seam.

11. Sew the side seams from the bottom of the skirt to the armhole and then back down to the bottom of the lining. Do this on both sides.

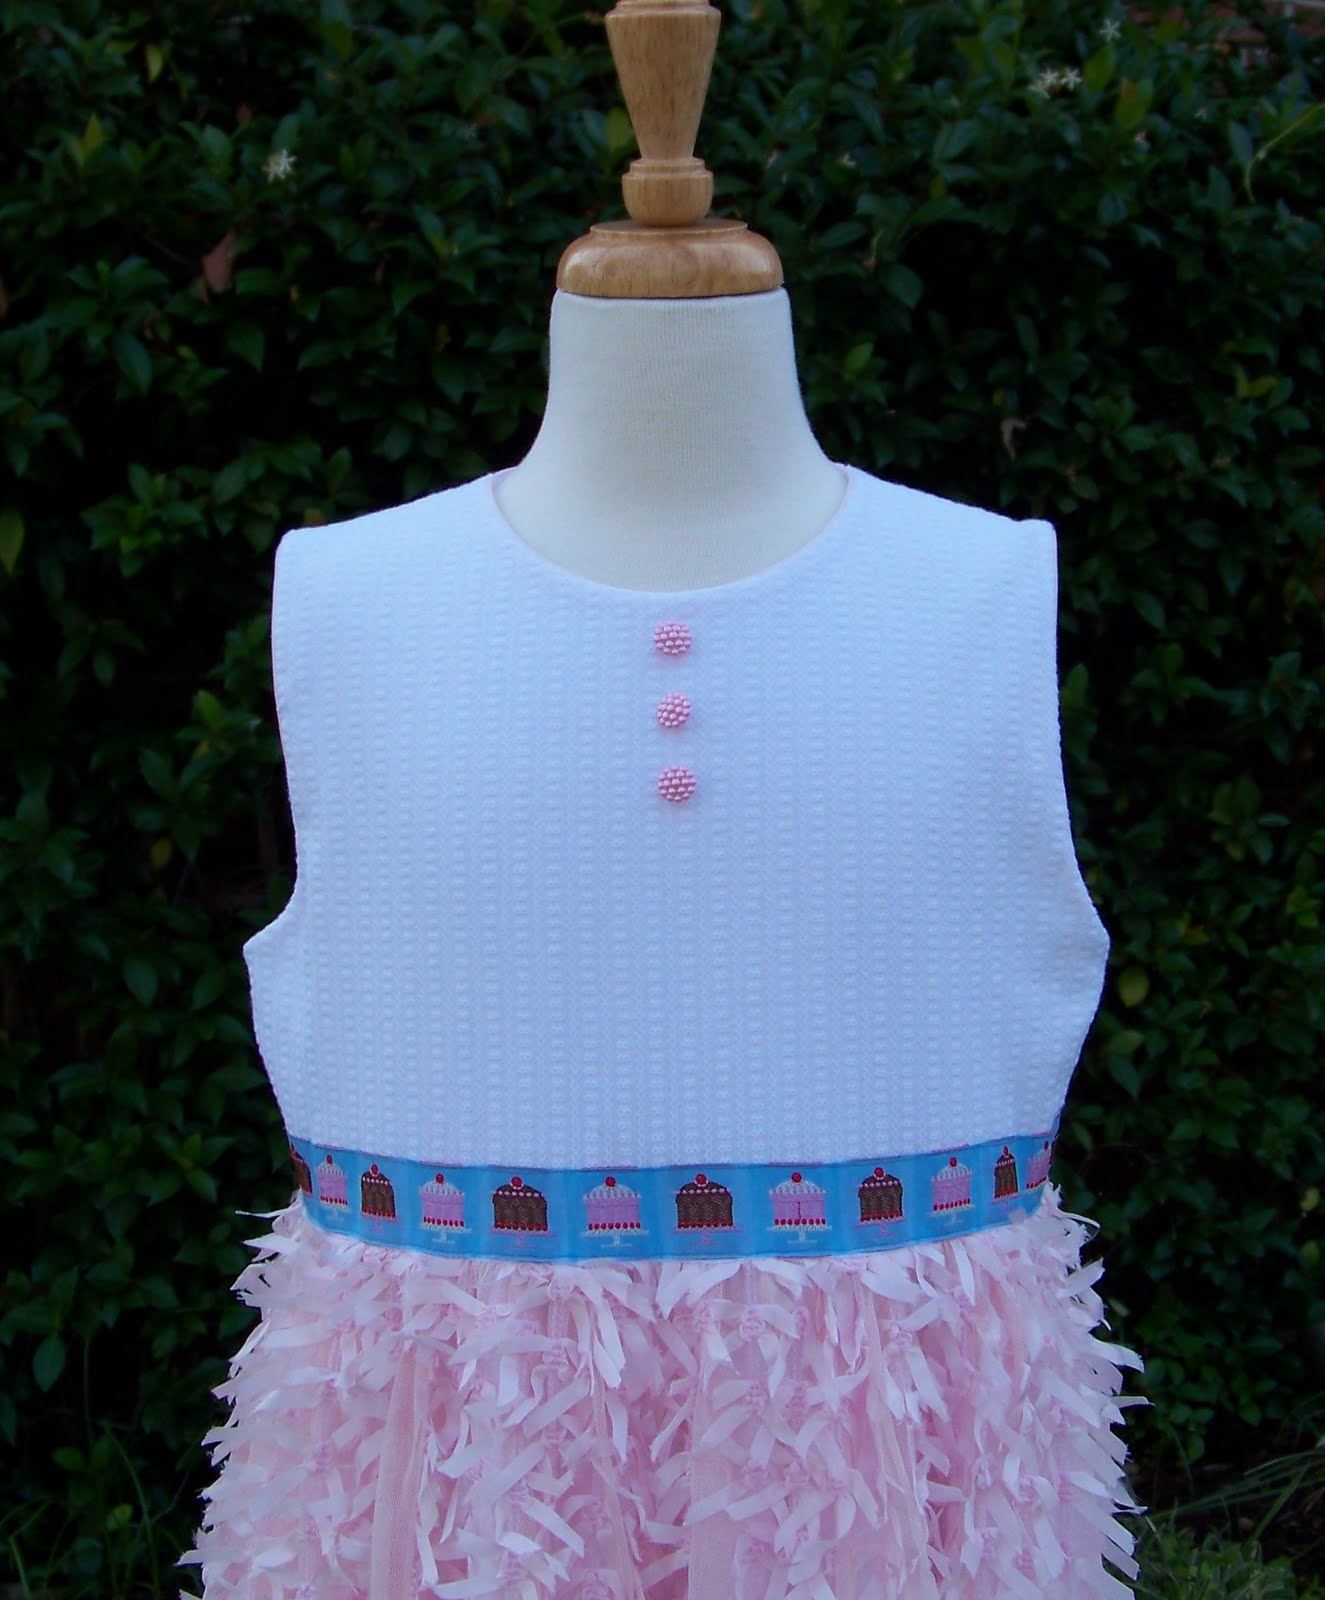
12. I added a ribbon to the waist. To reduce bulk, I held the lining away and only sewed the ribbon to the bodice fabric.

No comments:
Post a Comment